Knitting tip & techniques
Icelandic knitting: steek with me (2): Olga
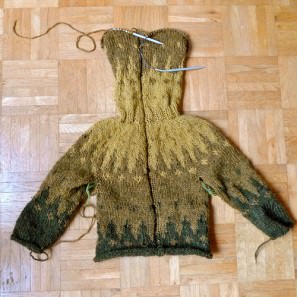
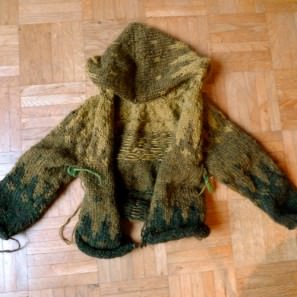
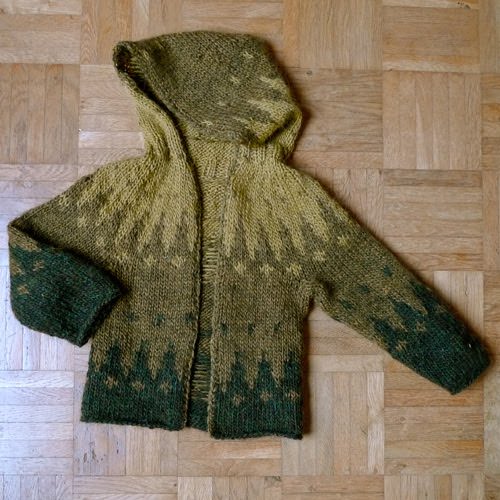
Here is Olga, ready to cut. The mustard color is not very easy to photograph but very nice in real life. At that point, the stitches form the hood are still on the needle, only the 2 purled stitches (steek) were bind off.
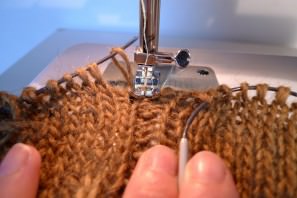
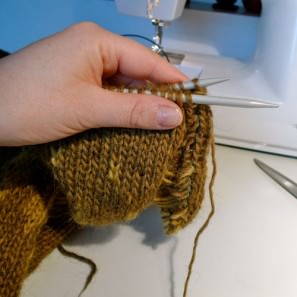
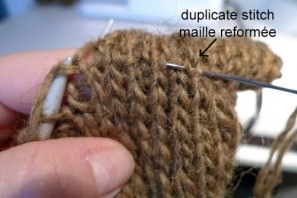
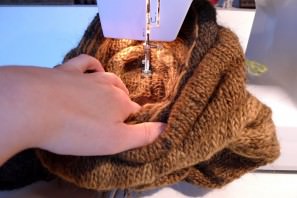
A seam on each side of the purled stitches (see previous tutorial): I show it to you first on the right side of the work but I find it easier to sew on the wrong side. The seam goes from the top of the hood…
…all the way down.

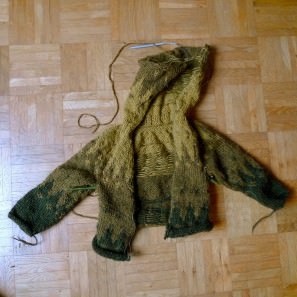
Please have rather the seams on the same side: this is only to show you how to make a seam on the other side, the wrong side ( it’s easier to see the stitches to sew) .
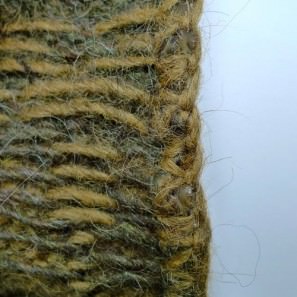
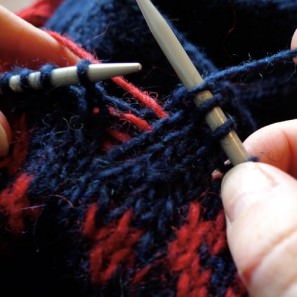
Tip: when working the pattern, knit the purled stitches to steek (in blue on the picture) with the yarn-not-in-use (in red) on the front of your work, instead of the back. This way, the floats won’t hide the stitches when you cut from the wrong side.
You usually wash your sweater at this point but not here of course because of the hood stitches still on the needle.Cut between the seams. Normally I would sew with a thread of same color than the yarn, but this is a tutorial and I wanted it to show!
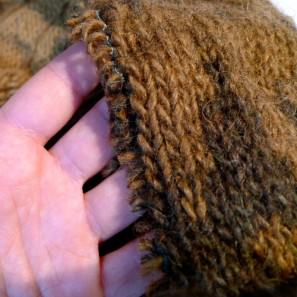
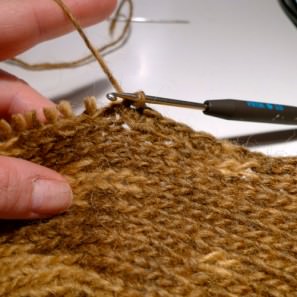
The bits of yarn will be hidden in the crocheted edge for the biggest part and will felt with the fabric after washing (by hand with luke warm water and wool soap and even conditionner); I also like to iron my sweaters with a wet cloth in between the iron and the fabric. this method isn’t good though for cables or textured stitches.

